
This And That
Atlanta Campaign Trail, Part 2
By Gould Hagler · Originally published May 2023 · pp. 20–21
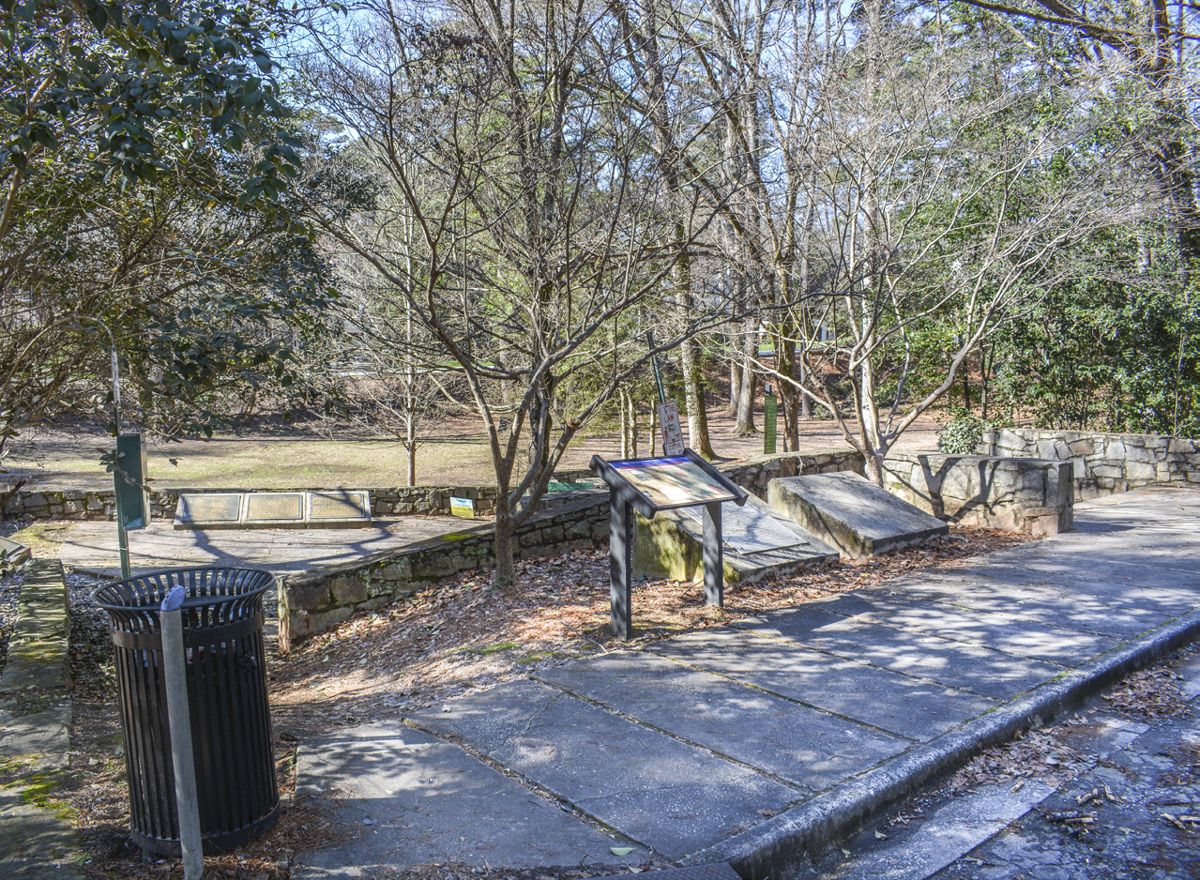
Too strong to assault and too extensive to invest Last month’s column covered the Atlanta Campaign as marked by Georgia Civil War Heritage Trails, from its starting point at Tunnel Hill to Kennesaw Mountain. From May 1864 to July, the Federals under Maj. Gen. William Sherman drove Gen. Joseph Johnston’s Confederates toward Atlanta. Now we pick up the trail at the Battle of Peachtree Creek where, under a new commander, the Confederates attacked on July 20. Confederate President Jefferson Davis, frustrated by Johnston’s Fabian maneuvering, had dismissed Johnston on July 17 and put Lt. Gen. John Bell Hood in charge of the Army of Tennessee. Our first two stops describe the action at Peachtree
Creek, where Hood assailed the Federal Army of the Cumberland, commanded by Maj. Gen. George Thomas, as it crossed the creek. A GCWHT marker, set in a “pocket park” on Atlanta’s busy Collier Road, covers the attack mounted by the two brigades of Maj. Gen. William Loring’s division on the Confederate left. The attackers achieved initial success but were ultimately driven back with heavy losses. One of the many Confederate casualties, according to an enemy account, was a woman, “shot
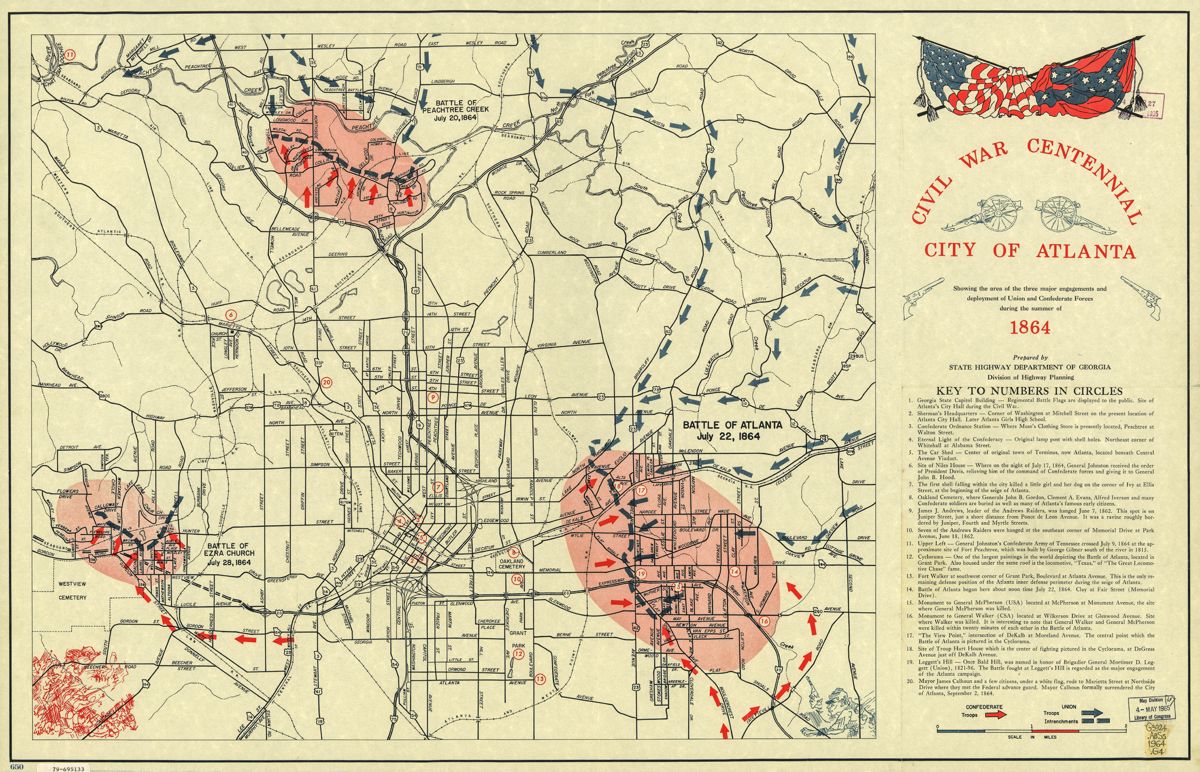
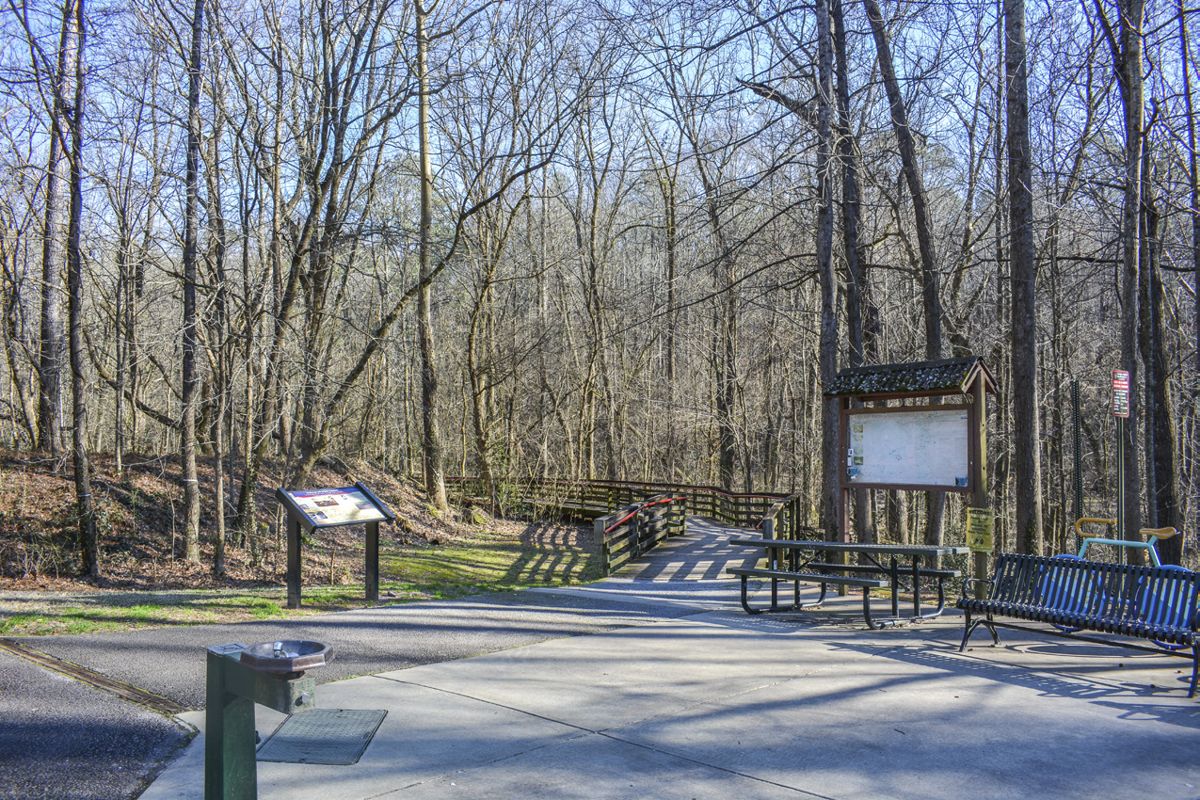
Peachtree Creek Crossing. in the breast and thigh and still alive and as gritty as any Reb I ever saw.” Other Confederates, all men we presume, showed the same kind of grit. An Alabama colonel wrote that his regiment, receiving the order to charge, “moved forward under a terrible enfilading fire of grape, canister and minie, as well as a galling direct fire.” A second marker, placed where Peachtree Road crosses the creek, tells of the attack on the Confederate right by Lt. Gen. William Hardee’s Corps. This attack was also driven back. The Army of the Cumberland, separated from the other Federal forces, had been in a vulnerable position, but prevailed. The marker explains: “Inadequate reconnaissance, poor coordination, rugged terrain and effective artillery fire enabled [Brig. Gen. John] Newton’s
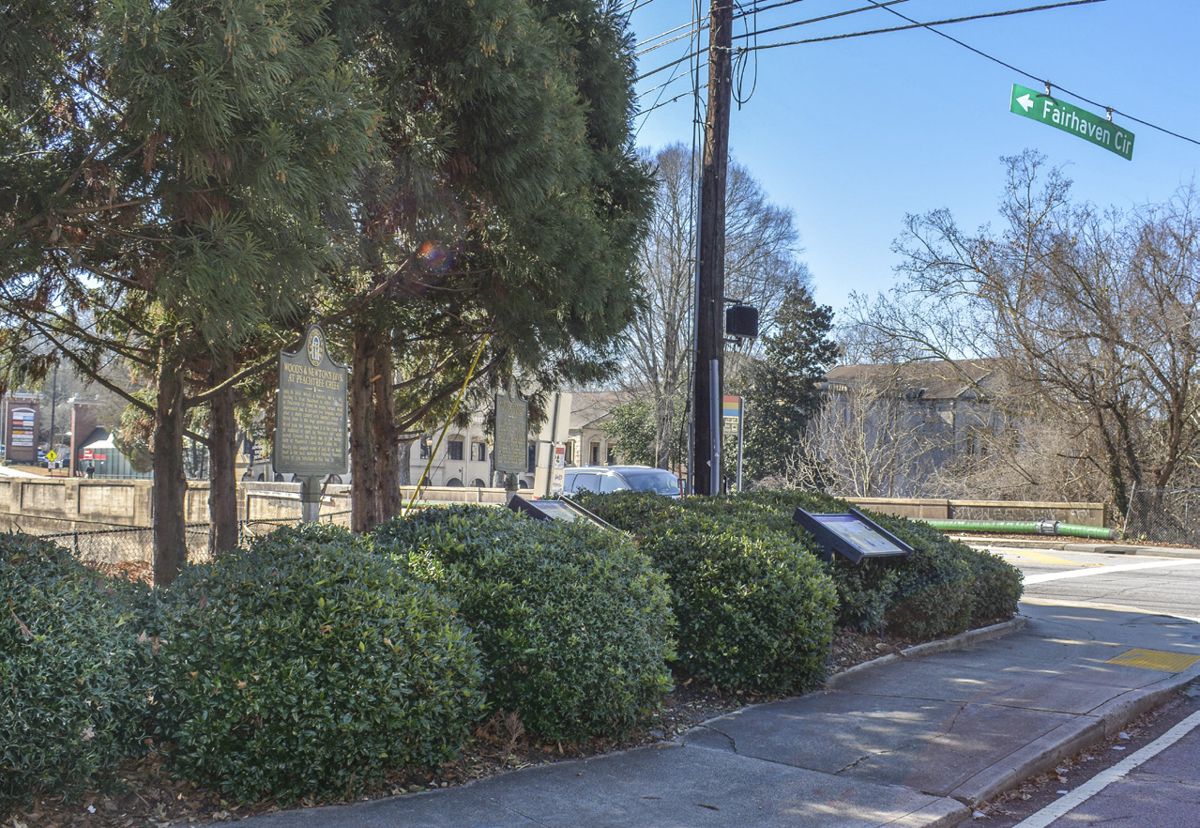
3,200-man division to prevent 10,000 Confederates…from reaching this crossing point and enveloping Thomas’s left flank.” The trail now swings to the east, toward Decatur, six miles or so from downtown Atlanta. Along the way there is a marker on the campus of Emory University, at the Hardman Family Cemetery. A nearby house served briefly as Sherman’s headquarters. “From there,” the marker says, “Sherman issued Special Field Orders Number 39, which read in part: ‘Each army commander will accept battle on anything like fair terms…If fired on from the forts or buildings of Atlanta no consideration must be paid to the fact that they are occupied by families, but the place must be cannonaded without the formality of a demand.’” After Sherman left, this house and a church at the cemetery were used as field hospitals. The next stop on the trail is at the DeKalb County courthouse in Decatur. The marker was vandalized last year and will soon be replaced. The marker told (and will soon again tell) about the military action in Decatur and the impact the fighting had on the town’s civilians. The most significant action was an attack on Federal forces by Maj. Gen. Joseph Wheeler’s cavalry on July 22, 1864. Wheeler targeted the wagon trains of the Federal Army of the Tennessee and was achieving some success against the Federal brigade guarding the wagons. However, Wheeler was ordered to disengage and shift a few miles to the west, where there was more important work to do. July 22 was the date of the Battle of Atlanta, fought about half way between Atlanta and Decatur. The battleground was covered up with urban development decades ago. Bald Hill, a terrain feature important to the understanding of the fighting, was leveled to make way for Interstate 20. GCWHT at this time has no marker relating to this battle, but is hoping to
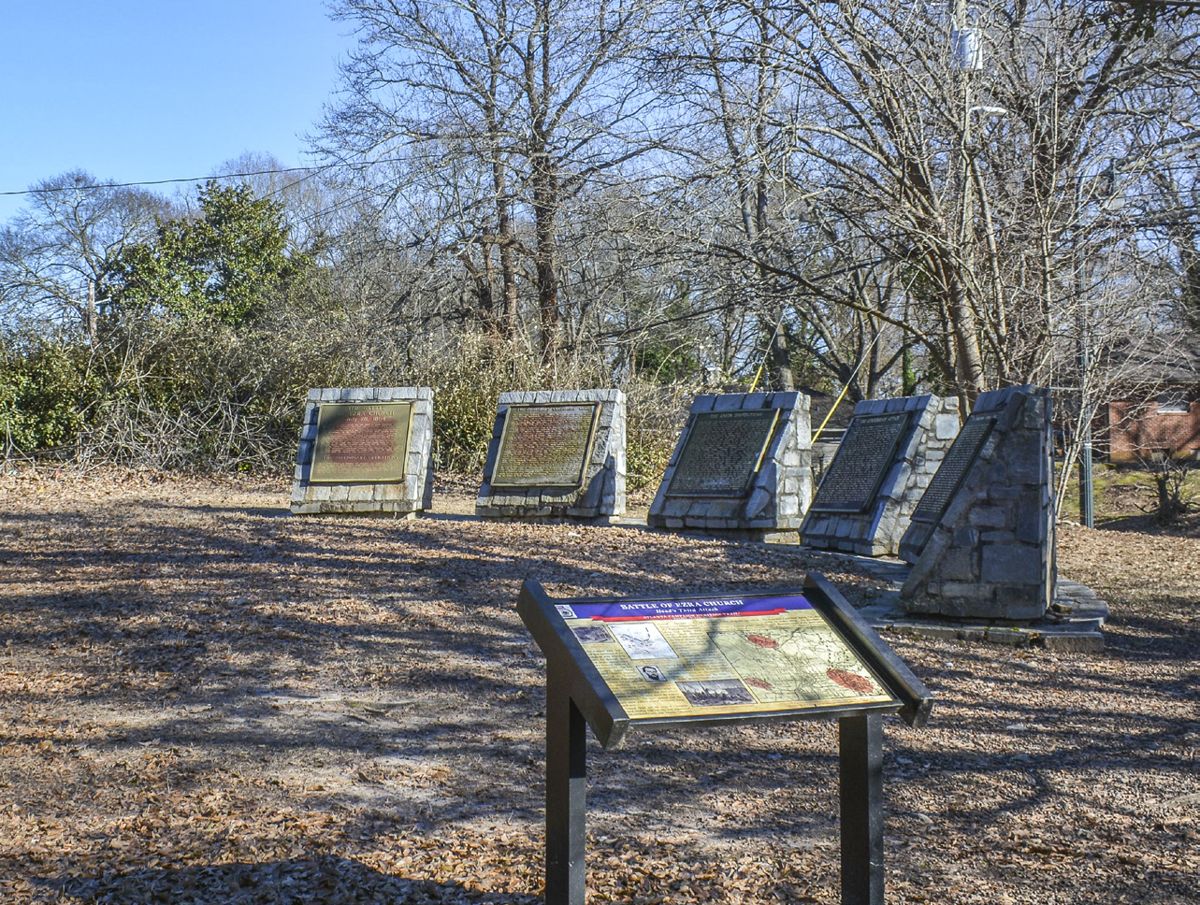
Ezra Church site. install one near the covered-up battlefield. Moving again toward Atlanta, we come to Fort Walker, located in Grant Park. The park is named for Lemuel Grant, the Confederate engineer who designed and oversaw construction of Atlanta’s defensive fortifications. The marker here provides information about the construction and use of these works. The fort was originally designated simply as fortification “R,” but was renamed in honor of Maj. Gen. W.H.T. Walker, killed in the July 22 battle. Captain Orlando Poe, Sherman’s chief engineer, reported that Grant’s works were “too strong to assault and too extensive to invest.” No effort was made to breech the fortifications. Here, as in other places, Sherman ultimately opted for a more circuitous route. After failing to drive away Sherman’s army on July 20 and July 22, the Confederates tried again on the 28th. We now motor across town to Atlanta’s Mozeley Park, where GCWHT’s marker explains the Battle of Ezra Church. Even though the enemy had arrived on the scene first, and had built a solid defensive line, two Confederate corps, one after the other, “imprudently attacked.” The failed assaults cost Hood’s army approximately
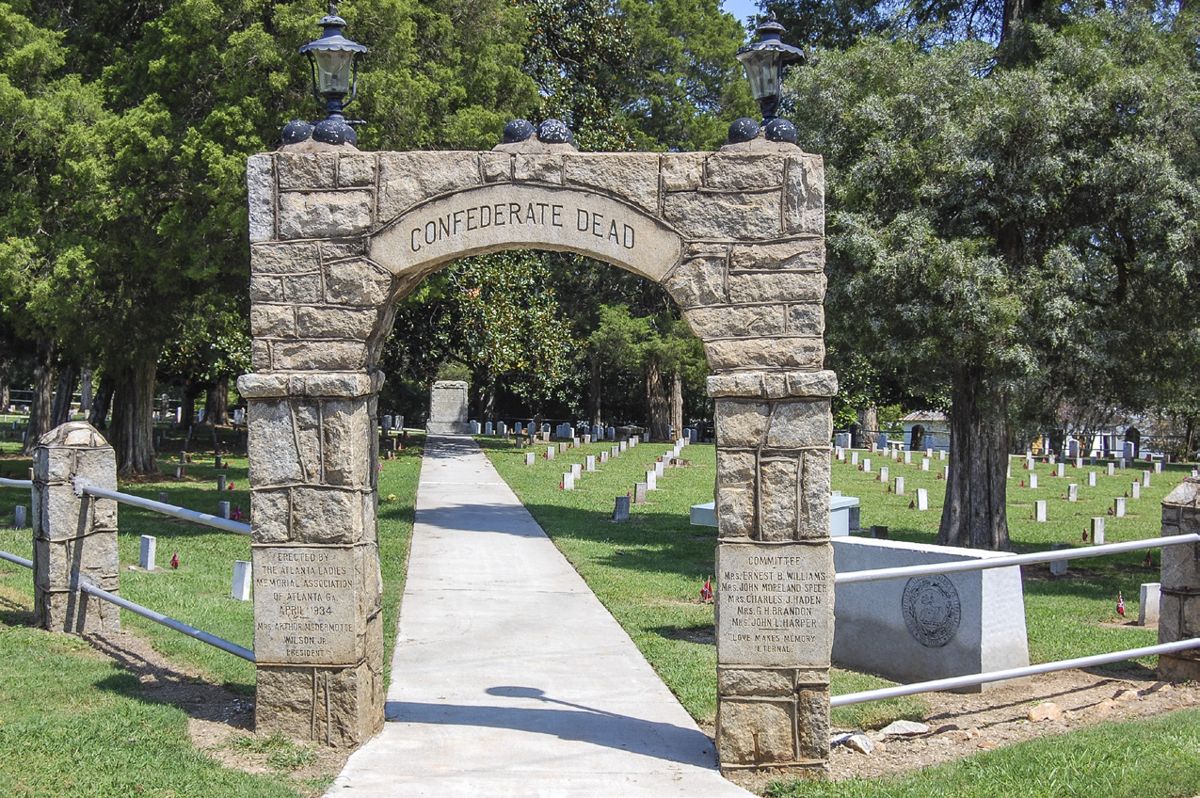
3,000 casualties, with the Federals losing only about onefifth that number. A fourth battle took place at Utoy Creek, also west of town. The next marker stands at the entrance to the Cascade Springs Nature Preserve. The Confederates were extending their trench lines to protect the last railroad still carrying supplies to the army and the city. The Federals, of course, extended their lines in the same direction for the purpose of reaching and breaking the railroad link. At Utoy Creek the Federals were on the attack. An officer in the Confederates’ Orphan Brigade wrote that the attackers moved forward “apparently not knowing they were about to encounter breastworks of a formidable character.…But they were plucky fellows and came within a few yards of our works, paying dearly for their courage and temerity.” Continued attacks achieved some fleeting success but the Federal push petered out. The fact that the Federals’ attack at Utoy Creek failed tells us something. Three big battles were fought in late July. The Confederates, already heavily outnumbered, suffered about 11,000 casualties. Still, at Utoy Creek, in four days of action, the Federals could make no headway against Hood’s entrenched
Patrick Cleburne Cemetery in Jonesboro. positions manned by thinnedout regiments. Atlanta could still be supplied by the last open rail line, the Macon and Western. What Captain Poe had reported earlier about the fortifications still applied, and applied even to the hastily-dug works extending the main fortifications built by Lemuel Grant. Sherman settled for a siege and bombardment that lasted nearly a month. Then, in late August, he pulled most of his forces from the siege lines and made a wide swing around the west side of the city. This movement takes us to the final two stops on the Atlanta Campaign Trail, at Jonesboro, about 20 miles south of Atlanta. The GCWHT marker at the Jonesboro depot describes what happened when Hood sent two corps to protect the threatened railroad to Macon. On August 31 the Confederates attacked a force far superior in numbers protected by entrenchments. The Southern force was repulsed with 1,700 casualties. The dug-in Northerners lost only 179. The other Jonesboro marker, at the Patrick Cleburne Cemetery, describes the September 1 action. Expecting an attack on the city from the south, Hood ordered one corps back to Atlanta. The remaining corps, under Lt. Gen. William Hardee, was attacked and suffered heavy losses. One brigade was overrun.
Its commander, 600 men and eight guns were captured. A Confederate private wrote that “they overran us like a drove of Texas beeves, by sheer force of numbers.” Overall, however, Hardee’s troops were able to hold on till night, when they retreated south to Lovejoy Station. Even before the fighting in Jonesboro, the Macon and Western had been cut by Federal infantry north of Jonesboro. Atlanta was cut off; the Confederates in Atlanta evacuated on the night of September 1-2 and marched to join Hardee; the Atlanta Campaign was over. Sherman’s armies would occupy Atlanta until November, when he sent half his force north to Tennessee, and embarked with the other half for the coast on his March to the Sea. Gould Hagler is a retired lobbyist living in Dunwoody, Ga. He is a past president of the Atlanta Civil War Round Table and the author of Georgia’s Confederate Monuments: In Honor of a Fallen Nation, published by Mercer University Press in 2014. Hagler speaks frequently on this topic and others related to different aspects of the Civil War and has been a regular contributor to CWN since 2016. His email is [email protected].
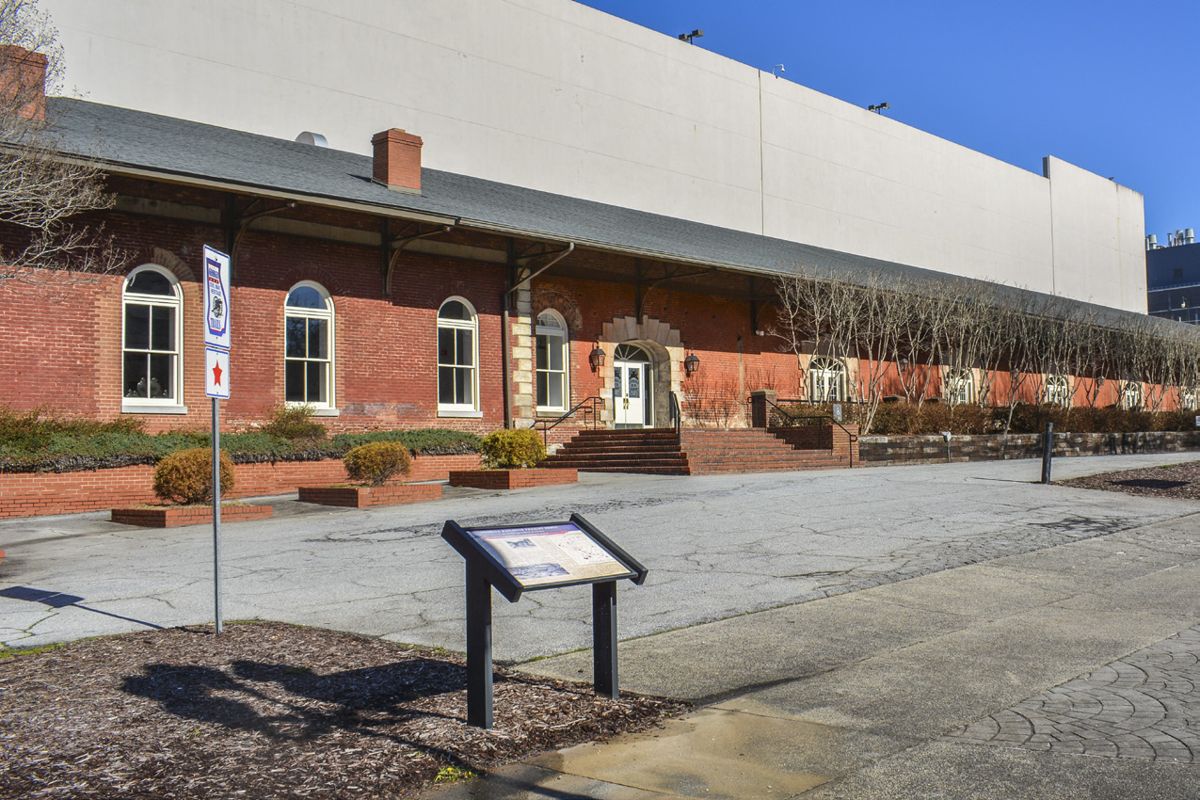
The marker at the Freight Depot in downtown Atlanta, a stone’s throw from the State Capitol and Atlanta City Hall, focuses on the main reason Atlanta was a target: the rails. The current structure dates to 1869 and is on the same site as the wartime depot. Four railroads met in Atlanta, fanning out east, northwest, southwest and south. During the war the city was a “major manufacturing center for military supplies,” the marker states, and “the railroads transported these supplies to the Southern armies.” The marker also describes the destruction of much of Atlanta before Sherman left the city for his March to the Sea. The marker quotes a Confederate report: “The car sheds, the depot, the machine shops, foundries, rolling mills, merchant mills, arsenals, laboratory, armory, etc., all were burned.” The series of interpretive markers installed by Georgia Civil War Heritage Trails guides the traveler through the entire Atlanta Campaign from Dalton to Jonesboro. The carefully-done texts and the clear maps tell the big story of the movements and clashes of armies. They also provide information about the privates and the civilians, the smaller stories that add texture to the larger one. In addition, the interpretation is not limited to the Atlanta Campaign itself. There is much to see about goings on in this vicinity before and after the fighting that took place between May and September of 1864. The famous Andrews Raid of 1862 started in Marietta and ended in Ringgold after a wild race between two locomotives, the stolen General and the pursuing Texas. In 1864, after evacuating Atlanta and rebuilding his forces, Hood operated north of Atlanta on the Western and Atlantic, the lifeline for Sherman’s armies in occupied Atlanta. These stories are told as well. GCWHT also includes a side trail covering the Chickamauga Campaign of September 1863, in extreme northwest Georgia. Armies under Federal Gen. William Rosecrans and Confederate Gen. Braxton Bragg moved about and ultimately slugged it out on September 19 and 20. The Chickamauga Campaign Trail and the sanguinary battle in the valley of Chickamauga Creek will be the topic of next month’s “This and That.”