
This And That
Georgia Civil War Heritage Trails: The Atlanta Campaign, Part 1
By Gould Hagler · Originally published April 2023 · pp. 22–23
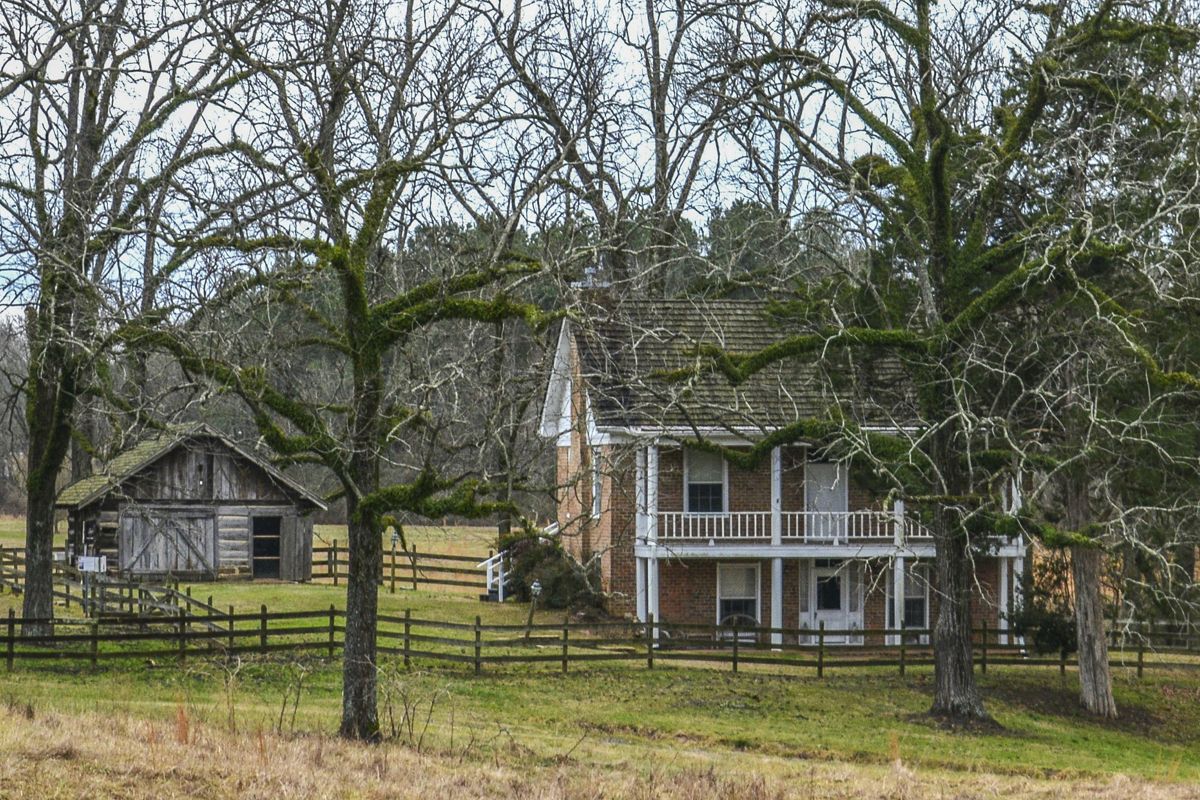
Georgia Civil War Heritage Trails: The Atlanta Campaign, Part 1
“They came with their heads bowed down and their hats pulled over their eyes as if to hide from view their inevitable death.”
Last year I devoted four columns to Georgia Civil War Heritage Trails’ interpretive markers that trace Sherman’s March to the Sea. Now we step back in time several months to learn about the earlier Atlanta Campaign. We will drive through northwest Georgia toward Atlanta, pausing at GCWHT’s various stops along the way. What decisions did the commanders make during this campaign? What did the privates do? How did the region’s geography affect the fighting? And what happened to civilians in this area in the spring and summer of the war’s fourth year? GCWHT will tell us.
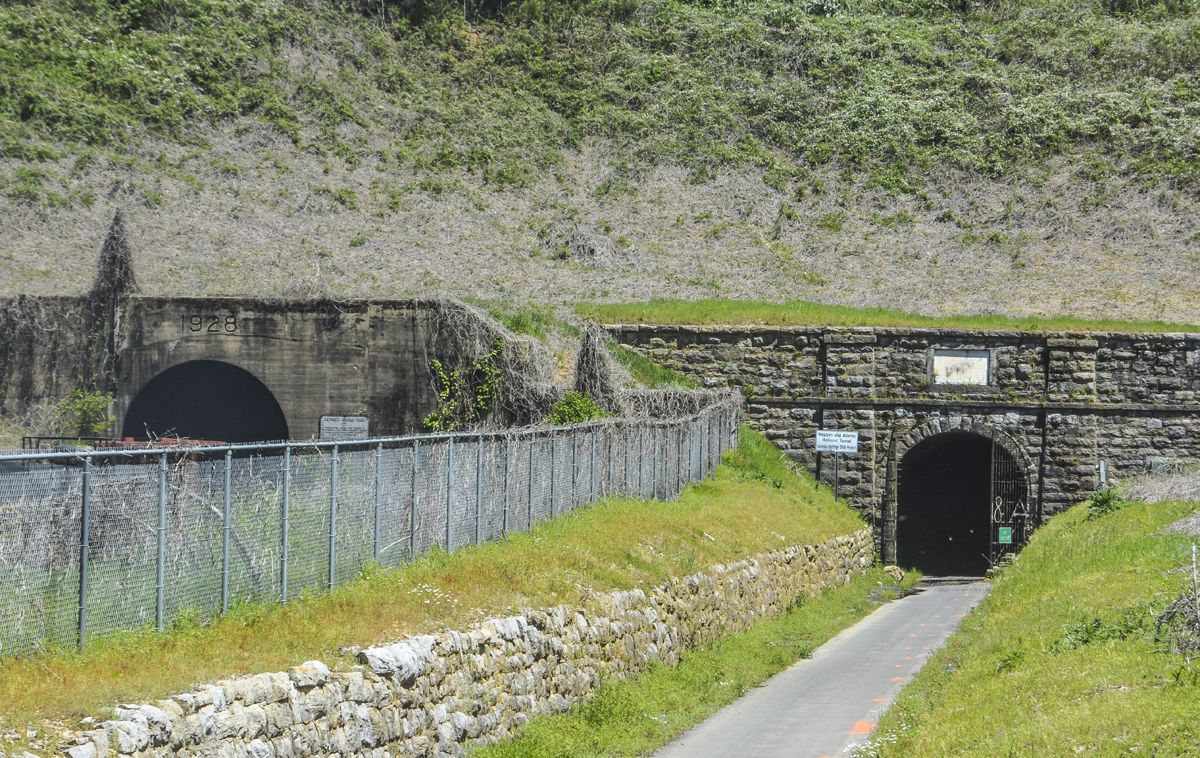
Our first stop is at Tunnel Hill, a few miles north of Dalton. The GCWHT marker here states that “On May 7, 1864, as Union Major General John M. Palmer’s 14th Corps advanced on Tunnel Hill, the first shots of the Atlanta Campaign were fired from a Federal battery on a hill near the Clisby Austin House.” After artillery and infantry drove away Confederate cavalry, Maj. Gen. William T. Sherman’s force moved against Dalton and the Confederate Army of Tennessee commanded by Gen. Joseph E. Johnston.
The next three stops are at Crow Valley, Mill Creek Gap, and Dug Gap, Confederate positions protecting Dalton. The defenses across the mile-wide Crow Valley were well-built and capably manned. At Mill Creek the Southern defenders held a naturally strong position, one made stronger when they created a lake by damming up the creek. Further south along Rocky Face Ridge is Dug Gap, where one finds a narrow passage at the top of a very steep climb. The GCWHT markers explain that the Federals probed and tested the Confederate positions at these strong points. A Northern officer reported that the works at Crow Valley were “too strong to be carried without great slaughter.” The commander of the Federal force at Dug Gap described “the palisades of rock impossible to scale.” Regarding Mill Creek, a Yankee sergeant wrote that “The enemy was concealed from our view and we did not have the poor satisfaction of shooting at them.”
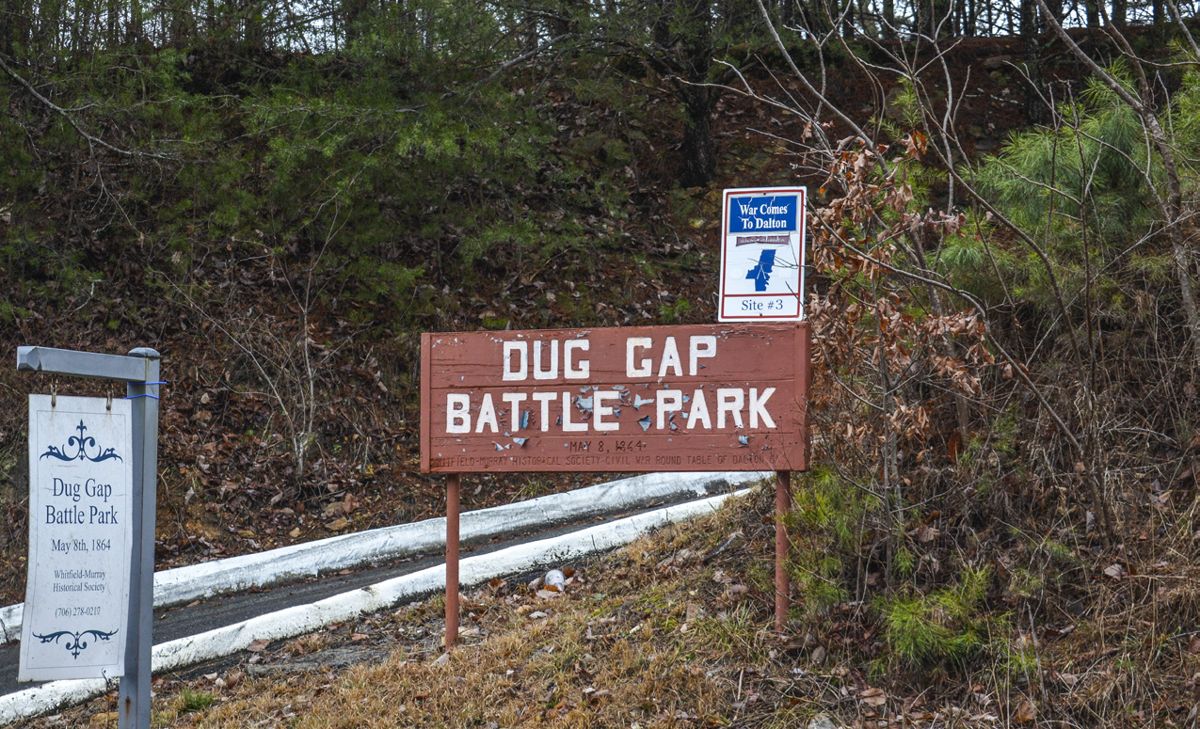
The Federals occupied the Confederates’ attention, as one Federal commander put it, but they made no concerted attack. They did not have to. Further south was another way through Rocky Face Ridge. Maj. Gen. James McPherson was headed there with his 24,000 men.
At Snake Creek Gap McPherson found an undefended route to the valley below and the railroad at Resaca. As the Federals debouched from the gap, they saw Confederate infantry in the valley. The commander overestimated the Confederates’ strength and hesitated while Johnston pulled his entire force back. The GCWHT marker quotes Sherman, who said to McPherson “Well, Mac, you have missed the opportunity of a lifetime.”
The ensuing Battle of Resaca on May 14 and 15 was the first major battle of the campaign, with some 100,000 Federals and 60,000 Confederates engaged. The marker here, just south of the Oostanaula River some distance from the battlefield, describes the battle. The fighting was heavy, with about 6,000 total casualties, roughly equal on both sides. The battle was a tactical draw, but Johnston was forced to retreat late on the 15th when he received word that the Federals had begun crossing the river in his rear. There were three bridges here, one for the railroad, one for wagons, and a pontoon bridge. “The Confederate army secretly withdrew overnight, spreading straw over the bridges before marching across undetected and setting them afire.”
The movements between May 7 and May 16 presaged much of the action during the Atlanta Campaign. Johnston would take a defensive position and prepare to face Sherman’s advancing force. Part of Sherman’s army would occupy the attention of the dug-in Confederates, while another part marched around Johnston’s left flank to threaten the Western and Atlantic lifeline. Johnston’s outnumbered army would be forced to pull back, undefeated and intact, but ever closer to Atlanta.
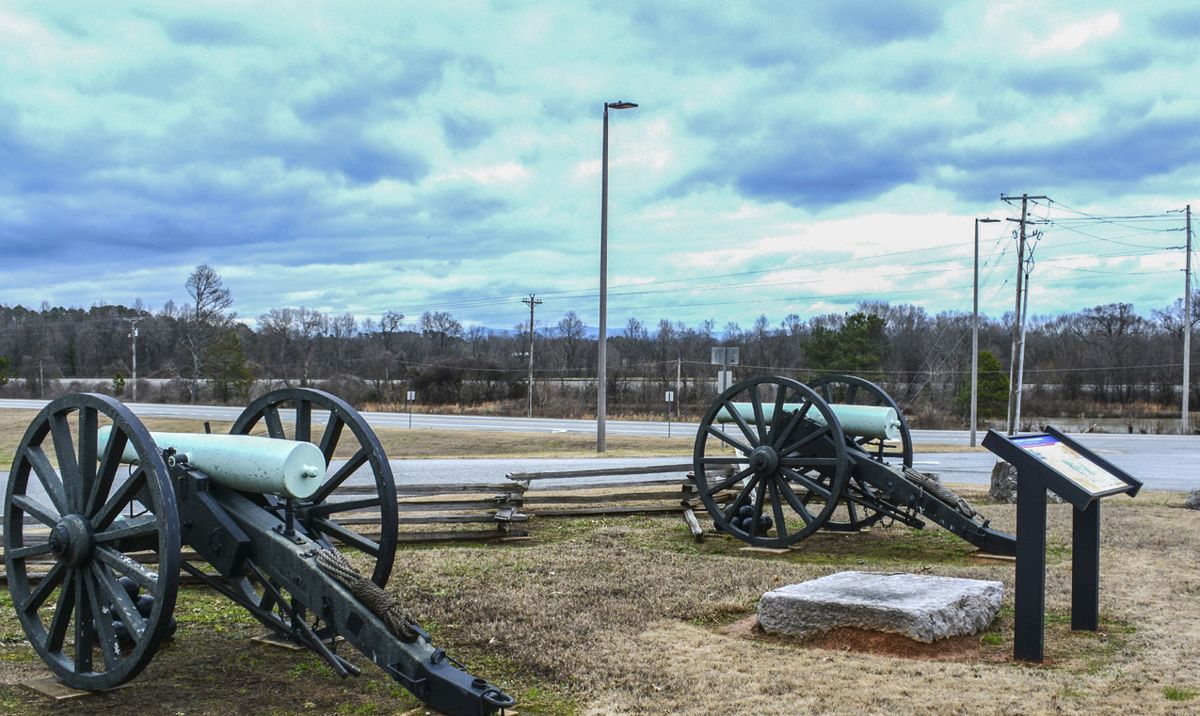
About 40 miles south of Resaca, the W&A cuts through Allatoona Pass, another strong defensive position. Sherman declined to attack in force. On May 20, according to the GCWHT marker, Johnston “hoped that… Sherman would attack his army in this stronghold.” In his memoirs Sherman explained why he forewent the opportunity. Sherman had served in this area 20 years earlier and knew the terrain. “I therefore knew that Allatoona Pass was very strong,” he wrote, “would be hard to force, and resolved not even to attempt it.” He chose instead “to turn the position by moving from Kingston to Marietta via Dallas.” So we also head southwest to Dallas, 20 miles or so from the W&A. Markers in and near Dallas tell us what happened in late May.
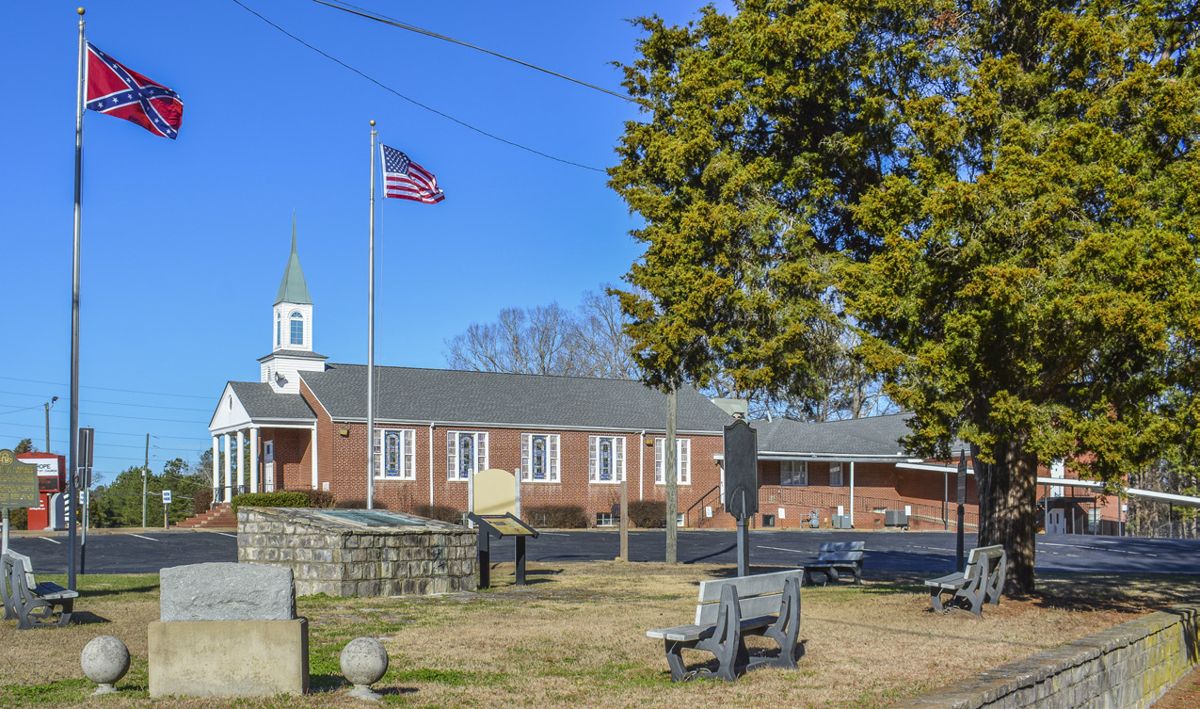
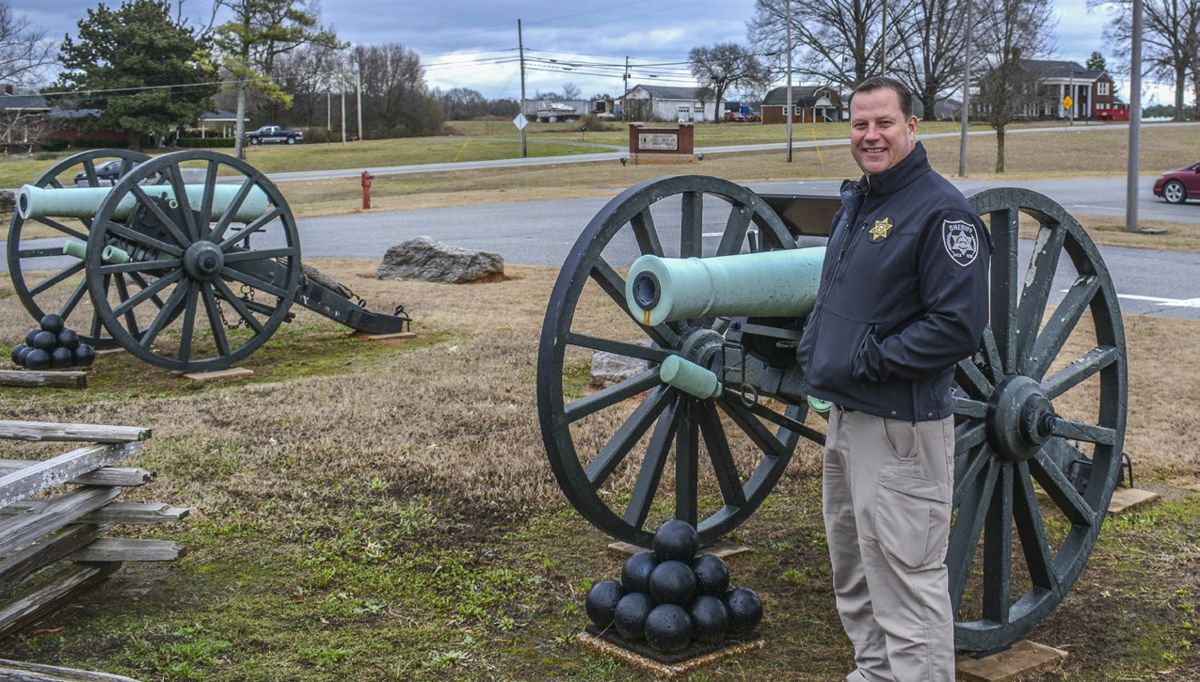
Several roads converge at New Hope where, on May 25, the first of three battles in the vicinity of Dallas was fought. The GCWHT marker in a small “pocket park” describes the action. Johnston had moved so rapidly from Allatoona that Sherman was unaware a Confederate force was already at the crossroads. Maj. Gen. Joseph Hooker’s XX Corps, a force of 16,000 men, moved forward and was met by Maj. Gen. Alexander Stewart’s Division. “The Federals advanced…one brigade at a time,” according to the marker. Each brigade, therefore, “bore the brunt of the massed enemy fire along a narrow front.” With 4,000 infantry and 16 cannon the Confederates repelled the attack and inflicted heavy casualties. One Federal division lost 800 men “in only a few minutes.”
The brochure for the Atlanta Campaign Trail includes a number of “points of interest,” sites shown on the brochure’s large map but not interpreted by GCWHT markers. One point of interest is Pickett’s Mill Battlefield State Historic Site. The state of Georgia has created an excellent facility to educate visitors about the battle fought here on May 27, two days after New Hope. Here, as at New Hope, a poorly-executed Federal assault resulted in a bloody repulse.
The day after Pickett’s Mill, the armies clashed again in the Battle of Dallas. Two markers tell the story of a failed Confederate assault on the Union right. Believing the Federals were withdrawing from this part of the line, and hoping to catch the enemy on the move, the Confederates probed with dismounted cavalry to determine the Federals’ strength. Finding that the works were still fully manned, the cavalry commander sent word to call off the attack. A Florida brigade and the famed Orphan Brigade of Kentuckians did not get the message. They attacked. Moving against the well-prepared Federals, these brigades suffered severe losses. The GCWHT marker quotes an Ohio soldier who wrote that “they came with their heads bowed down and their hats pulled over their eyes as if to hide from view their inevitable death.”
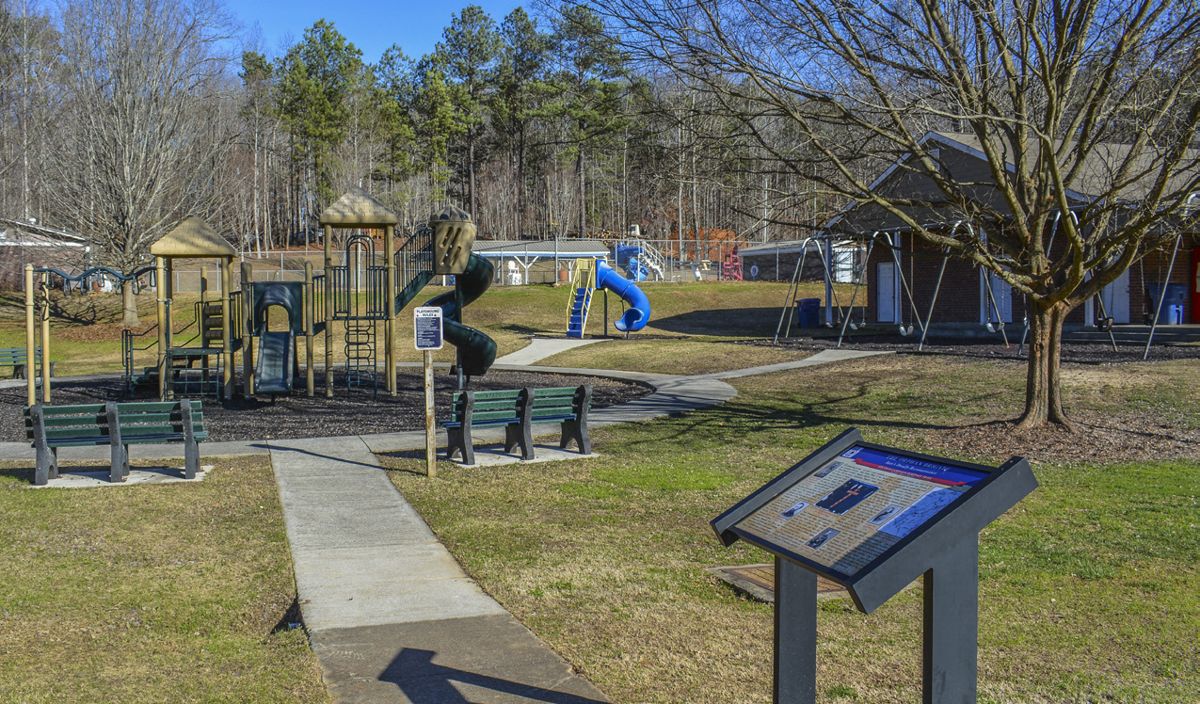
A marker in a downtown park provides only a brief description of the May 28 engagement, stressing instead the effects the fighting had on the town and its vicinity. For two weeks “nearly 170,000 soldiers in the Federal and Confederate armies faced each other in Dallas and throughout Paulding County.” Many wounded Confederates were taken to Dallas, where they received inadequate care in the town’s “impromptu hospitals.” A Confederate captain later wrote of wounded soldiers “lying in hospitals and uncared for, some of them with limbs amputated, and undressed for two days, until from neglect – the weather being warm – insects had found a lodgment in every wound.”
Even before the action at Dallas on his right, Sherman had decided to move his force east, back to the railroad. Johnston hastened toward Kennesaw Mountain and the prepared works on terrain highly favorable to the defending Confederates. The story of the Battle of Kennesaw Mountain is well-known. Kennesaw is mapped by GCWHT as another point of interest. As at Pickett’s Mill, GCWHT has installed no marker here, leaving the interpretation of this battle to the Kennesaw National Battlefield Park. Most readers will be familiar with the story: Sherman attacked on June 27 and was checked with serious losses. The Federals still held the advantage, however, and again moved around Johnston’s left flank, forcing another retreat.
We will pause here, and resume our tour next month at the Battle of Peachtree Creek, where the Army of Tennessee, under a new commander, attacked the Federals at the very gates of Atlanta.
Gould Hagler is a retired lobbyist living in Dunwoody, Ga. He is a past president of the Atlanta Civil War Round Table and the author of Georgia’s Confederate Monuments: In Honor of a Fallen Nation, published by Mercer University Press in 2014. Hagler speaks frequently on this topic and others related to different aspects of the Civil War and has been a regular contributor to CWN since 2016. He can be reached at [email protected].
Georgia Civil War Heritage Trails has clearly marked the route with directional signs that lead to interpretive markers. The organization’s website (https://www.civilwarheritagetrails.org/) also contains each marker’s GPS coordinates. Brochures for the Atlanta Campaign Trail and other driving routes, available from GCWHT, contain much useful information, including excellent maps. I suggest that travelers make use of all three resources. If you use only the GPS coordinates to get from one stop to the next you will be led upon modern roads and miss much of the fun. If you are like me you will miss a sign now and then or take a wrong turn. When this happens the GPS coordinates will get you back on track. GCWHT’s address is P.O. Box 1864, Evans, Georgia, 30809.